Tuesday, May 14, 2013

Pictures From Carolina

I'm home!  Glad to be home, yet I so miss my sweetie K3.  This long distance grand parenting is tough on a person.

While I was with her, I took lots of pictures, including a few of her in her new sundress.  It's a hair big yet, but she'll grow into it.

As always, I'm not posting pictures with recognizable faces, so you'll have to be content with back of the head views, lol.

at home in her sundress

at the beach (Atlantic Ocean)

 Hunting Island Lighthouse


pelican

freshly 'harvested' sand dollars


Spanish moss in the live oak tree in backyard of DS1's house


Friday, May 10, 2013

Going to Carolina

In my mind, I'm going to Carolina.   (Thanks, Mom and Dad, for playing James Taylor music when I was young and impressionable.)

That song has been playing in my head all week.  Mostly because I am going to Carolina.  South Carolina, that is, to see my little sweetie K3, along with DS1 and K2.  But, to be honest, it's K3 I'm most excited about.

As James Taylor sings in my head and I think of sunny days and warm weather and a blonde blue-eyed smiley-faced darling, I've been sewing.

Because Grandmas do not forget to come bearing gifts.  And because Grandma (yes, me) saw some cute fabric I thought would make a great sundress for K3, showing off her amazing eyes.  And while I was cutting out the pieces for the sundress, I realized that I had enough fabric leftover to make a diaper cover to match the dress.  And a sunhat too!

So, James Taylor is on repeat in my mind, and I've been singing along as my sewing machine hums into action and churns out a new ensemble for my sweetheart girl.


K3's new outfit made by Grandma

I made the sundress in a size 1 (aka 12 months) since K3 is a petite little thing.  The pattern came from Walmart.


The diaper cover I found at this website: http://www.danamadeit.com/2008/07/tutorial-the-perfect-diaper-cover.html .  I made the 12-24 months size.

The sunhat is from here: http://aninaduren.files.wordpress.com/2011/05/sun-hat.pdf .

Now that they are finished, I can't wait to get to South Carolina, give K3 a giant hug, and put her new outfit on her.  


Thursday, May 9, 2013

Orchard Blossoms

The orchard is starting to bloom.  I grabbed the camera the other night, just as the sun was setting, and  managed to snap a few pictures.  Some came out ho-hum, but others look pretty cool.  Almost as if I knew what I were doing with a camera!  Which I don't. Any professional-looking pictures are purely coincidence.  Dumb luck, as it were.


peach tree just starting to bloom


peach blossoms


more peach blossoms (different tree)


pear blossoms


cherry tree 

back lit cherry blossoms


my scrawnier cherry tree
(these three branches are the entire tree),
 almost done blossoming

Not pictured, my apple trees are not quite to the open-blossom stage.  I do have one bloom on one of my brand-new plum trees!  The description said "may bloom the first year", but I didn't believe it.  Now I do, LOL.

Tuesday, May 7, 2013

knit, knit, knit

After I finished the two sweaters I knit for K3, I bit the bullet and asked my knitting instructor to teach me how to knit socks. Socks are the main reason I wanted to learn to knit in the first place, but they seemed so hard and surely couldn't be done by a beginner. In January, when I began learning to knit, I thought that it would be a long, long time before I was ready to tackle making socks.

However, actually completing two sweaters boosted my confidence greatly--after all, how many people can say they have knit an entire sweater?  (Even if mine are tiny, size 12 month sweaters. . . they still count!)

So. . . mid-April found me in possession of a skein of sock yarn, a pattern for some simple socks (with heels, not the easy-as-pie heel-less tube socks!), and a set of size 2 double pointed needles.  Which have come to be known as "Mom's knitting toothpicks", courtesy of my daughters' reaction when I showed them the skinny little needles.

My hand, holding a 'knitting toothpick'.

This is my first project done on the double pointed needles.  When I made my hat in February, I used dpns to finish off the crown, but those were much larger; a size 7.  My socks will be the first project to be completely knit on dpns.  

It takes a bit of juggling to get used to working with them.  But once you get it down, it's really cool.  Here's the cuff of my sock underway, set on the floor for the picture so you can see how the needles are as you knit a tube (the cuff) with them.

Yes, you do see four needles in there! 
Your eyes are not playing tricks on you.

Once I had the cuff done, which measures six inches long, then I left two of the needles alone and worked solely on the third one, making the heel flap.  That has proved to be the most challenging part for me because it needed to be an exact number of rows (as opposed to the cuff, which was just knit until I got to a certain length), and I kept losing count.  After counting, and recounting,  and recounting again, and doing the next step, then finding out when I tried to move on to the step after that I most likely had way too many rows, I tore out the entire heel and started the heel flap over, making a tally mark on scrap paper each time I finished a row.  I hear there is such a thing as a row counter available at stores to use when you are knitting. . . might look into that for when I don't have scratch paper and pencil nearby.

Anyway, here is the sock with the heel flap done in the correct number of rows.  (Hallelujah!)

Heel flap done,
and heel 'turned'.

Once the heel was knit correctly, I did the next step, which was 'turning' the heel.  That is really neat, as it makes the cup of the heel, and all you have to do to create it is follow the directions precisely, which wasn't hard at all.

the back of the sock, 
showing the turned heel.


Doing the gusset was a bit tricky, mostly because the directions weren't all that clear.  They started with you having 18 stitches on needle one, and proceeded to instruct me to pick up 16 stitches from the side of the heel flap with that same needle but then went on to direct me what to do with needle two (knit across all the stitches on needles two and three making a new 'needle two' with the total), plus pick up 16 more stitches for needle three, and end with "25 stitches on both needles one and three, and 32 stitches on needle two."  Say what?  18 + 16 equals 34, not 25.  So that took a bit of thought, reading four or five times, analyzing, and finally concluding that I was giving 9 of those original 18 stitches on needle one to needle three to come up with the magic 25, 32, 25 because nine plus sixteen definitely made twenty-five, whereas eighteen plus sixteen definitely was not adding up.

After that it was smooth sailing, just knit, knit, knit until it was time to do the toe decrease.  That knitting was a breeze (watched the movie Argo with DH while knitting this part), and the toe decrease was easy too.

sock, all done except the toe graft, 
or kitchener stitch, to close the toe.

To close the toe, I did a kitchener stitch, following the directions. It worked like magic, and suddenly I found myself with a finished sock in my hand!

ta da!  a hand made sock!

Now I just have to make it's mate, so I can wear them proudly.  ;0)


Monday, May 6, 2013

Humus. . . or is it Hummus?

This post was prompted by a text from DS2 this morning, asking for my humus recipe.  I told him that humus took a long time to make, and since he was soon moving back from college for the summer, he probably did not have enough time to make it there.  Then I sent him another text, this one with the recipe I use for making hummus.  :0)  Apparently even just-finished 2nd year engineering students get the two mixed up.


Humus and hummus.  The words look a whole lot alike. If you don't pay much attention to phonetic clues, you might even pronounce them alike. They are, however, very different.  If you saw the two items, in real life, side by side, it would be easy to see they are not the same.

One is dirt.  The other, bean dip.  Definitely don't want one on your cracker, and the other probably won't grow your flowers or vegetables very well.

I make both.

Which brings to mind a time about twelve years ago, when I used to babysit DH's eldest nephew quite frequently.  He spent a summer being pretty much the fifth child at my house two or three days a week.  Being as he was a year older than my youngest, having him labeled "number five" was kind of odd.  Chronologically, he should have been number four, and DD2 should have been number five.  Yet, he wasn't quite the same as the other four kids, and at times stuck out like an extra thumb.

For my kids, seeing me throw kitchen scraps (veggie peels, carrot tops, etc) into the compost bin in the backyard was ho-hum, everyday life, nothing interesting going on here.

Yet for nephew, or "number five", it was a strange and curious thing indeed to see Aunt Kris bypass the trash can and take food scraps outside, then dump them into a pile and walk away.

Huh, what?  Which is pretty much what he said when he asked what I was doing.

So, I proceeded to tell a four year old about the compost pile--how it worked, what I did with it, and what the end product was.  He went home that day and announced with awe to his mother:  "Aunt Kris makes dirt!"

My "humus", aka dirt, recipe is pretty basic: take anything that decomposes, and toss it into a pile in the compost bins I have made out of old pallets.  Eventually, it will turn into dirt.  It, of course, works much faster if you layer your humus ingredients, making sure the carbonaceous ones cover the nitrogenous ones.  So, when you toss in poop (chicken, horse, rabbit, other livestock, not dog or cat), or grass clippings or weeds or food scraps, you want to make sure there's some wood chips, sawdust, straw, dead leaves, etc in there too.  Too much 'green stuff', green as in 'fresh' rather than dried like the sawdust, straw, etc, and you end up with a stinky slimy pile.  On the other hand, too much dried stuff and not enough green, and your pile doesn't heat up inside very much, and then it doesn't 'cook down' into the finished compost quite as fast.

There are books and tons of info on the internet about how to make compost, and if you want to be a compost perfectionist, you'll be better off following those than my method. But if you want to do it the slow and lazy way, just toss your pulled weeds, potato peelings, bunny manure, etc into a big heap and let nature take it's course.


Making hummus is much, much quicker.  You can do it the 'cheater' way and used canned beans, or you can do it the frugal way and use dried beans, which you then have to soak overnight and cook until soft.

Here's how I do it:

Put 1/2 cup garbanzo beans (aka chickpeas) into a small saucepan, cover with water until the water is about an inch above the beans.  Soak overnight.  The next day, add a bit more water if the beans have soaked it all up--they swell quite a bit, then bring to a boil, cover, and simmer about one hour, until you can mash a bean easily with a fork.  Drain the beans.

Now, if you are using the cheater method, buy a 15-ounce can of chickpeas/garbanzo beans from the store, and drain out the liquid in the can.

From here, you make it the same whether you are using cheater beans or frugal ones.

Put the beans in your blender (if you don't have a blender, put the beans in a medium size bowl and mash with a potato masher).

To the beans, add:
2-3 Tbsp olive oil (or veggie oil) 
1/4 cup lemon juice
3 cloves of garlic, peeled and chopped
1 tsp cumin
1/2 tsp salt
1/4 tsp pepper

In the blender, puree all together.  You may need to add a little water if the bean mixture is too stiff and your blender is having difficulty.  If you are doing this by hand, you still might desire to add a little water to make stirring this mush easier.

When the mixture is the consistency you desire, you are done!  You now have hummus, to enjoy on crackers, pita breads, carrot sticks, whatever your heart desires.


Friday, May 3, 2013

Three Whole Days Without Rain!

The ground is finally drying up enough to get some work done out of doors.  Still not dry enough to till the garden and begin planting, mind you, but dry enough that I can drive the tractor in most of the places I need to go, and start working on my mile-long to-do list.

And, dry enough that I got to trade in my knee boots (my tall, waterproof work boots) for my regular work boots.  Plus, it's been eighty or close to eighty degrees most of the week.  Lovely weather, and too warm to wear jeans unless I have to.

So I'm sporting the lovely ensemble of shorts and work boots :0), also known as my 'Heidi the Tool Girl' wardrobe.  (Hopefully, dear reader, you know of Heidi the Tool Girl from the '90s TV show Home Improvement).

I even took a picture, or attempted to take a decent picture, of this outfit.  However, my arm wasn't long enough to hold the camera far enough way to get both my boots and my shorts in one picture.  This ought to give you the general idea, though:


Stylin'!

If you look real close, in the picture you can barely make out the band-aid just below my left knee cap.  Unfortunately I found a patch of still slick mud, slipped on it, and whacked my knee on the tiller implement we have for our tractor.  Being one of those places on your body where there is no padding and veins right under the skin, of course I split the skin open and the inch-long gash bled like crazy.  Hence the band-aid.  The hazards of farm life, LOL.  Also the reason I get my tetanus shot regularly.

Wednesday, May 1, 2013

May

May is here!  April had to get one more big shower in before it left us; for four hours yesterday, thunderstorms sat over this little place here and dropped a good half inch of rain on us in that time period. That was added to the nearly three and a half inches we'd gotten in the previous 13 days.  All that rain isn't soaking in very quickly.

So much for my plans to get outside and do some work in the garden yesterday or today; the soil is so waterlogged I don't dare step foot in the garden.  Neither do I dare to do anything that requires the tractor (such as spring cleaning the chicken coop), as the tractor will surely make ruts anywhere I drive it, especially in the garden where the chicken coop shovelings traditionally go this time of year. Getting my early crops: the peas, potatoes, beets, broccoli, spinach planted is a no-go.

Back to the drawing board, or rather, my never-ending to-do list, to see what is possible until the ground dries up somewhat.  Funny, that on a beautiful 80 degree day like today, I find myself working mostly indoors, repotting seedlings, doing a little knitting, making and returning phone calls. . .

One nice thing about yesterday's showers, though:  they did bring May flowers!  I snapped a couple of pictures of things that definitely were not blooming yesterday even after the storm passed.

golden suns of dandelions

forsythia looking like it's dripping sunshine

close-up of a forsythia branch

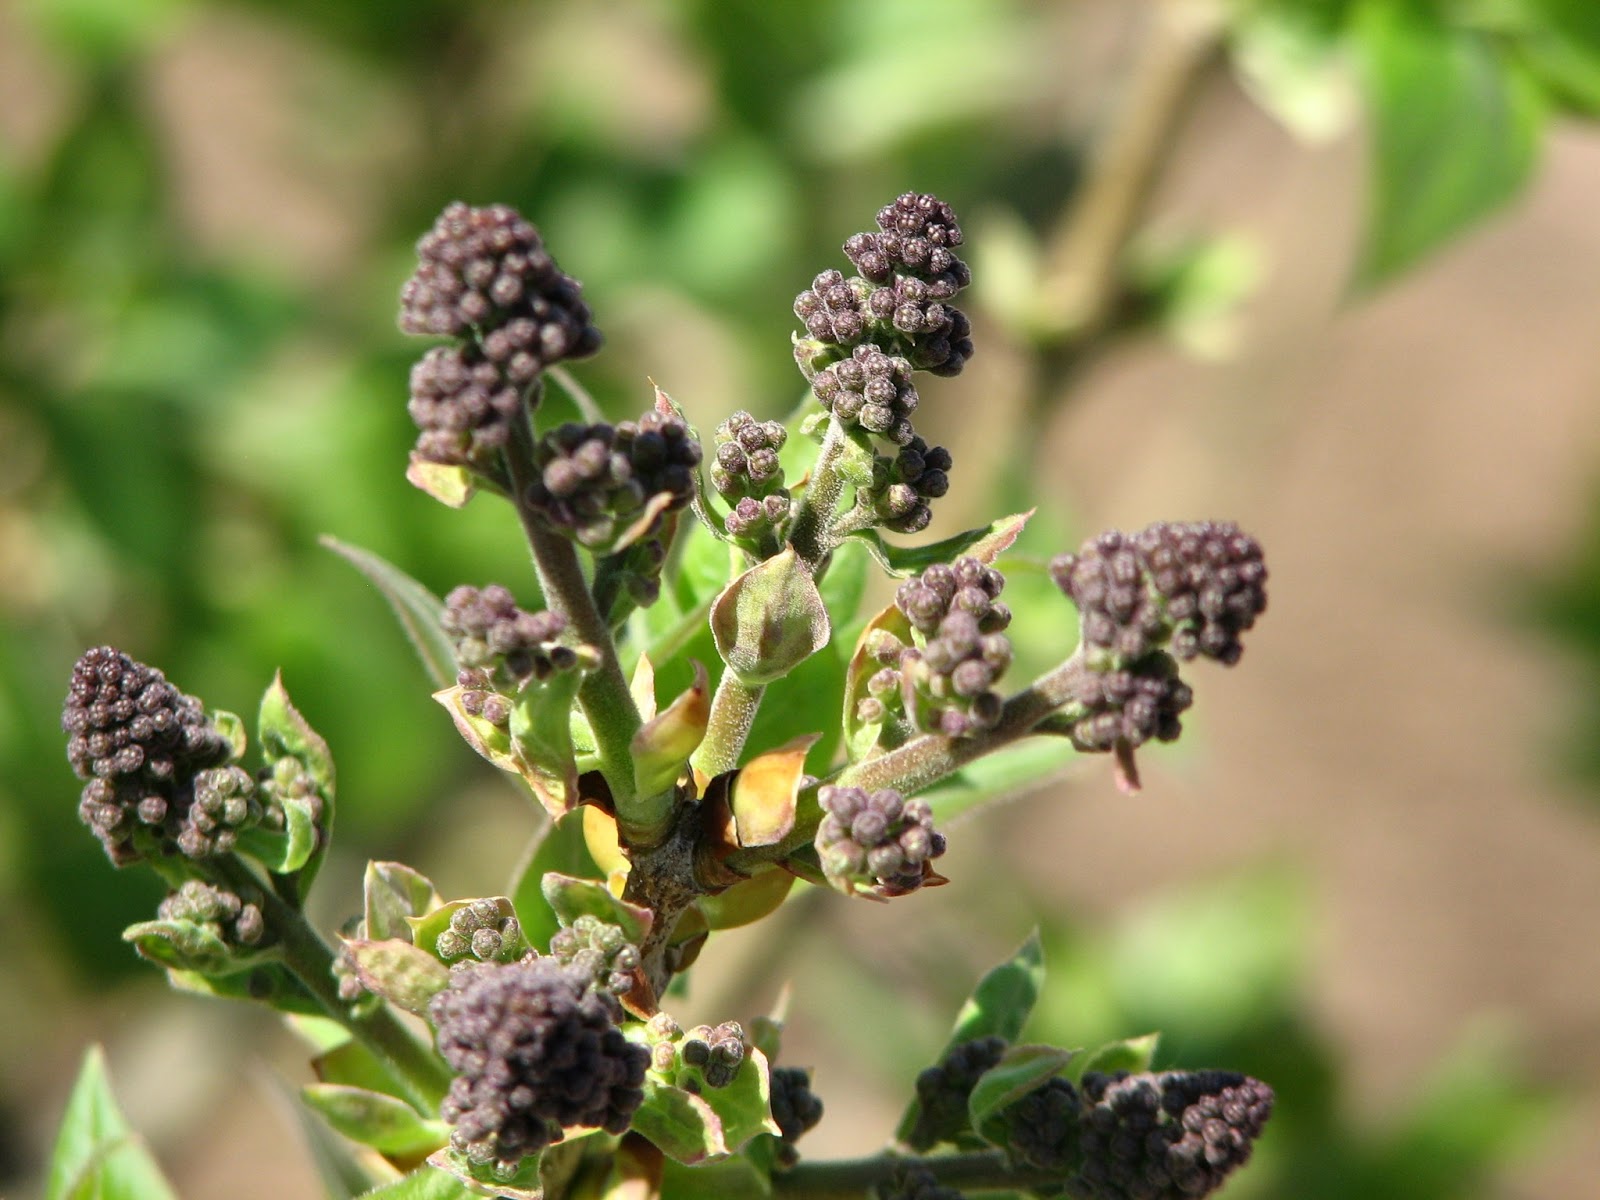
lilac blooms are developing, 
looking like tiny upside-down clusters of grapes

Since it's such a nice day today, and since there are so many earthworms and bugs out, I decided to let my chickens out of their pen for a few hours.  They are on work-release, if you will: out of jail to do the work of eating bugs (and saving me money on chicken feed!)